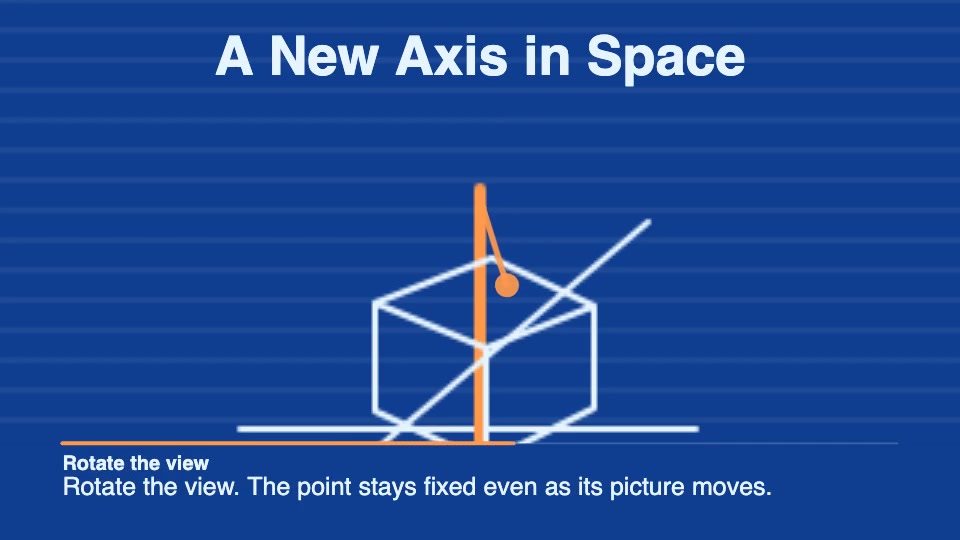
How to animate a 3D depth axis with a fixed origin
Make three frames that show one point moving in depth while the cube and axes stay still. You can sketch the frames on paper or use them as keyframes in an animation editor.
Draw three frames along the depth axis
- Draw a square, then draw a second square of the same size slightly up and to the right. Connect matching corners to make a wireframe cube. Mark the lower-left corner of the front square as the origin (0, 0, 0). Label the edges pointing right and up +x and +y. Put a +z arrow along the edge from the origin to the matching back corner. In this sketch, +z points away from the viewer.
- Copy the drawing twice without shifting the cube, axes or origin. Place the point at the origin in frame 1 (z = 0), halfway along the +z edge in frame 2 (z = 0.5), and at the back corner in frame 3 (z = 1). The cube edge is one unit long for this exercise. Label each frame; x and y stay at zero, even though the point moves diagonally on the page.
- Flip through the sketches in order. In an editor, lock the camera, put the three poses at evenly spaced times, and move the point in a straight line between them. Hold the last pose long enough to read its depth label.
Check the motion without sound
Pause at each of the three poses. The origin and all cube corners should line up across frames, and the point should stay on the +z edge. If the whole cube shifts, realign the copies or lock the view. If just the point leaves the edge, straighten its motion path.
Compare with the Loretry reference
The Spatial Axis Visualization Skill is a separate visual reference. The three poses above are for this exercise, not measurements from the clip.
Open the reference still or open the reference MP4 directly.